Mini Pavlovas with Fresh Fruit Recipe
Okay, let’s talk about dessert drama. You know the kind—something so light, so pretty, so extra that people actually pause mid-conversation to take a photo before eating. That’s what Mini Pavlovas with Fresh Fruit are: little edible clouds of drama, elegance, and straight-up deliciousness.
I used to think meringues were fragile, fussy, and one oven breeze away from disaster. Then I made these. And guess what? They’re surprisingly foolproof, totally impressive, and perfect for when you want to feel like a pastry chef without a culinary degree.
Plus, they’re naturally gluten-free, look like you spent hours, and take way less effort than a soufflé (which, IMO, is just dessert with anxiety). Ready to make your next gathering pop? Let’s crack some eggs.
What Even Is a Pavlova? (And Why Should You Care?)
Short answer: a crisp-on-the-outside, marshmallow-soft-on-the-inside meringue base, piled high with whipped cream and fresh fruit. It’s named after a ballet dancer (yes, really), and honestly? It deserves the drama. It’s delicate, it’s sweet, it floats through your palate like a dessert-daydream.
Mini pavlovas are just that—individual-sized versions that are easier to serve, less intimidating to make, and way more fun to eat. No slicing, no uneven portions, no “who gets the biggest one?” drama. Just pure, personal bliss.
Why You’ll Love These:
- Gluten-free by default – no flour, no problem
- Make-ahead friendly – bake the meringues days in advance
- Customizable – change up the fruit, cream, or toppings
- Impressive AF – looks like you hired a caterer
- Textural heaven – crisp shell, gooey center, creamy topping, juicy fruit. It’s a party in your mouth
The 5-Ingredient Meringue Magic (Yes, Really)
Here’s the wild part: pavlovas are made with just egg whites, sugar, and a few helpers. No butter, no flour, no mystery powders. Just science and a little patience.
What You’ll Need for the Meringues:
- 4 large egg whites – room temperature (more on that in a sec)
- 1 cup (200g) granulated sugar – fine, not coarse
- 1 tsp white vinegar or lemon juice – stabilizes the meringue
- 1 tsp cornstarch – helps keep the center soft
- 1 tsp pure vanilla extract – for flavor (because plain sugar clouds are kinda boring)
That’s it. Five ingredients. And yes, you can mess this up—but only if you rush it or use greasy bowls. So don’t do that. We’re better than that.
Pro Tips for Meringue Success (Because We’re Not Playing Around)
Meringues are forgiving if you follow a few golden rules. Break them, and you’ll end up with weeping, cracked, or flat discs of sadness. Follow them? You’ll have perfect little nests of joy.
1. Egg Whites Must Be Spotless
Any trace of yolk or grease in the bowl = meringue failure. So:
- Separate eggs carefully
- Wipe your bowl and whisk with a lemon wedge or paper towel dipped in vinegar
- Use a metal or glass bowl—plastic can hold onto grease
2. Room Temp Egg Whites Whip Better
Cold egg whites take forever to fluff up. Let them sit out for 20–30 minutes before starting. Your arms (or mixer) will thank you.
3. Add Sugar Slowly—Like, Really Slowly
You’re not dumping it in. You’re adding it one tablespoon at a time, while the mixer runs on medium speed. This dissolves the sugar fully, which gives you that shiny, stable meringue.
Skip this step? You’ll get grainy meringues. And nobody wants gritty dessert.
4. Whip Until Stiff, Glossy Peaks Form
You’re looking for meringue that:
- Stands up straight when you lift the whisk
- Shines like it’s wearing a tiny disco ball
- Doesn’t slump or weep
If it looks dull or droops, keep whipping. If it breaks or looks curdled, you overdid it. (RIP. Start over. We’ve all been there.)
5. Cornstarch + Vinegar = Soft Center Secret
These two ingredients are the reason your pavlovas don’t turn into rock-hard cookies. The cornstarch keeps the inside tender, and the vinegar (an acid) stabilizes the foam. Science, baby.
How to Make Mini Pavlovas (Step-by-Step, No Tears)
Step 1: Preheat & Prep
- Preheat oven to 300°F (150°C)
- Line a baking sheet with parchment paper
- Use a pencil to trace 3-inch circles (about the size of a small juice glass) – 6–8 circles per tray
Step 2: Whip the Meringue
- In a clean bowl, beat egg whites on medium until foamy
- Add a pinch of salt (optional, but helps stabilize)
- Increase speed to medium-high and start adding sugar—1 tbsp at a time, waiting 10–15 seconds between each
- Once all sugar is added, add vanilla, vinegar, and cornstarch
- Whip on high for 5–7 minutes until stiff, glossy peaks form
Step 3: Pipe or Spoon
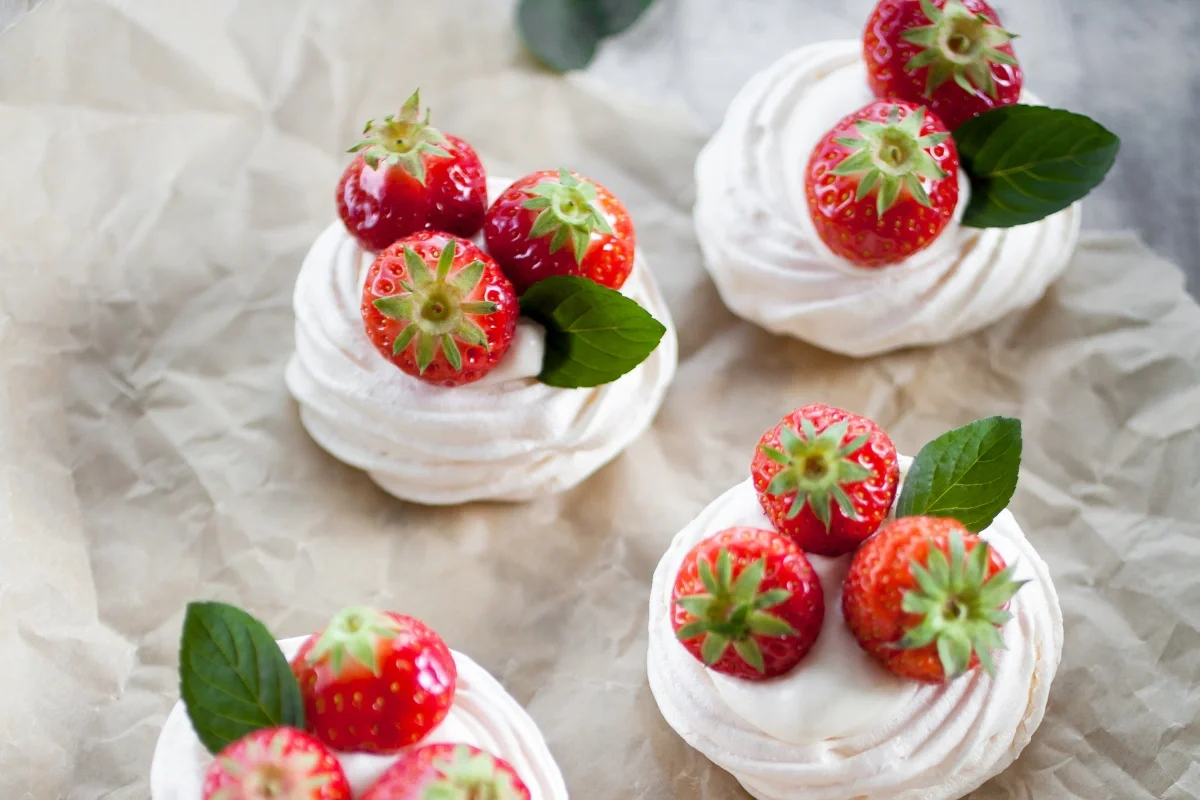
- Use a piping bag with a star tip for fancy swirls (chef’s kiss)
- Or, use a spoon to shape mounds within the drawn circles
- Gently swirl the top with the back of the spoon to create a nest
Step 4: Bake Low and Slow
- Bake for 45–50 minutes until the outsides are crisp and the centers are still soft
- Turn off the oven and let them cool inside for 1 hour with the door slightly ajar (use a wooden spoon to keep it open)
This slow cooling prevents cracking. Patience = perfect pavlovas.
The Toppings: Where the Party Really Starts
Now for the fun part: piling on the good stuff. The base is sweet, so we want contrast—creamy, tart, juicy, fresh.
What You’ll Need:
- 1 cup heavy whipping cream (or coconut cream for dairy-free)
- 1–2 tbsp powdered sugar
- 1/2 tsp vanilla extract
- Assorted fresh fruit – see suggestions below
How to Whip the Cream:
- Chill your bowl and beaters for 10 minutes (helps it whip faster)
- Beat cream until soft peaks form
- Add powdered sugar and vanilla, then beat to medium-stiff peaks
- Don’t over-whip, or you’ll get butter. And while butter is great, it’s not great on meringue.
Best Fruit Combos (Because You Can’t Just Use Bananas)
Fruit is key. It adds color, freshness, and cuts the sweetness. But not all fruits play nice.
✅ Great Choices:
- Berries – strawberries, raspberries, blueberries, blackberries
- Kiwi – tart, bright, and green for contrast
- Mango – sweet, tropical, and gorgeous
- Peach or nectarine slices – juicy and fragrant
- Pomegranate arils – crunchy, tart, and fancy-looking
❌ Avoid:
- Bananas – too soft, turn brown fast
- Watermelon – too watery, makes meringue soggy
- Apples or pears – unless very thinly sliced and tossed in lemon juice
Pro Move: Macerate Your Fruit
Toss berries with a little sugar and lemon juice 15–20 minutes before serving. They’ll release a juicy syrup that pools around the pavlova like nature’s glaze. 10/10, would recommend.
Assembling: The Final Flourish
Do this right before serving—meringues hate moisture and will get soggy if you top them too early.
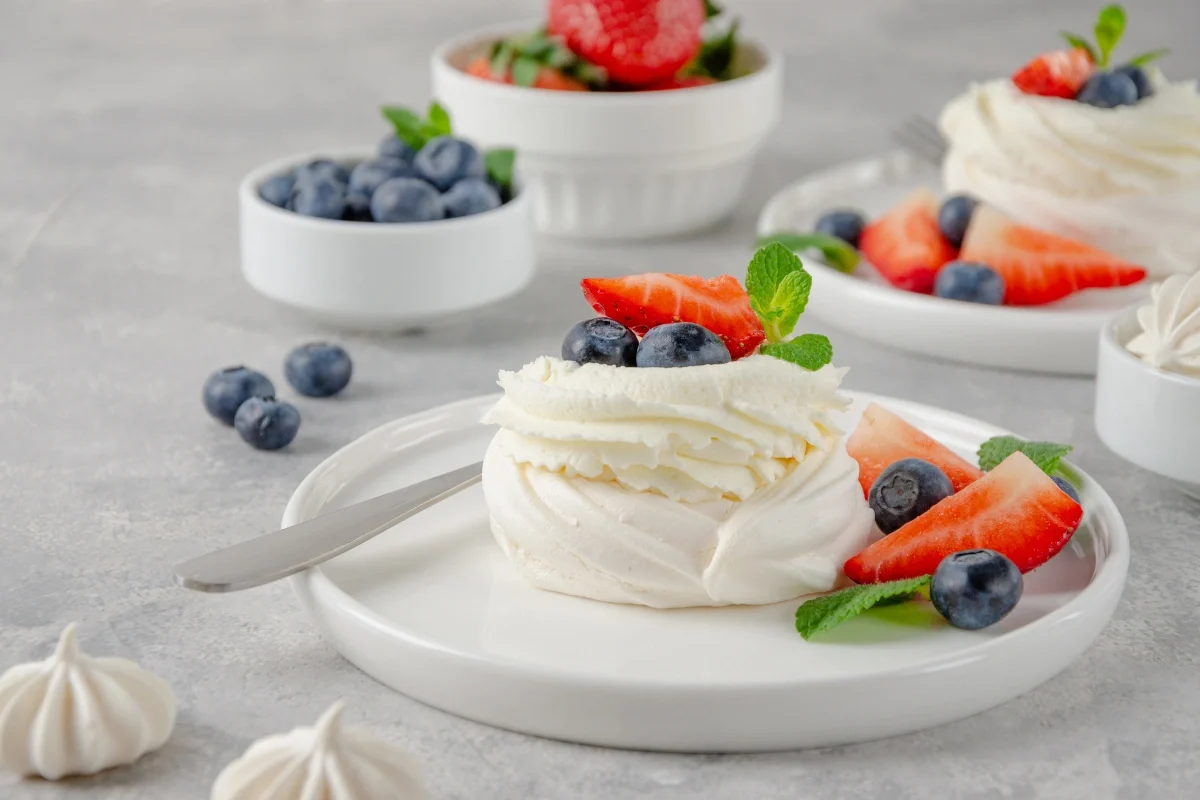
- Place a mini pavlova on a plate
- Spoon a generous dollop of whipped cream into the center
- Pile on fresh fruit
- Drizzle with a little honey, lime juice, or melted dark chocolate (optional but chef’s kiss)
- Garnish with mint leaves or edible flowers if you’re feeling fancy
Boom. Dessert that looks like it came from a Parisian patisserie. But it didn’t. It came from you. And your oven. And maybe a little YouTube tutorial. No judgment.
Make-Ahead Tips: Because No One Wants to Bake at 7 PM
Good news: you can prep almost everything ahead of time.
- Meringues: Bake 1–2 days in advance. Store in an airtight container at room temp
- Whipped cream: Make 4–6 hours ahead, keep chilled
- Fruit: Wash and chop 1 day ahead, store in the fridge (except berries—do those day-of)
Just assemble right before serving. Easy.
Final Thoughts: Why These Mini Pavlovas Are a Must-Try
Look, I get it. Meringues sound intimidating. But these mini ones? They’re low-risk, high-reward. Even if one cracks or looks a little lopsided, it’ll still taste like sweet, airy heaven.
They’re perfect for:
- Brunch – swap the fruit for lemon curd and blueberries
- Dinner parties – impress without stress
- Summer picnics – pack components separately and assemble on-site
- Feeling fancy on a Tuesday – because why not?
And honestly, there’s something deeply satisfying about biting into that crisp shell and hitting that soft, marshmallowy center. It’s like dessert ASMR.
So go ahead. Whip some egg whites. Make something beautiful. And when someone says, “You made these?” just shrug and say, “Yeah. Want another?” 😎

