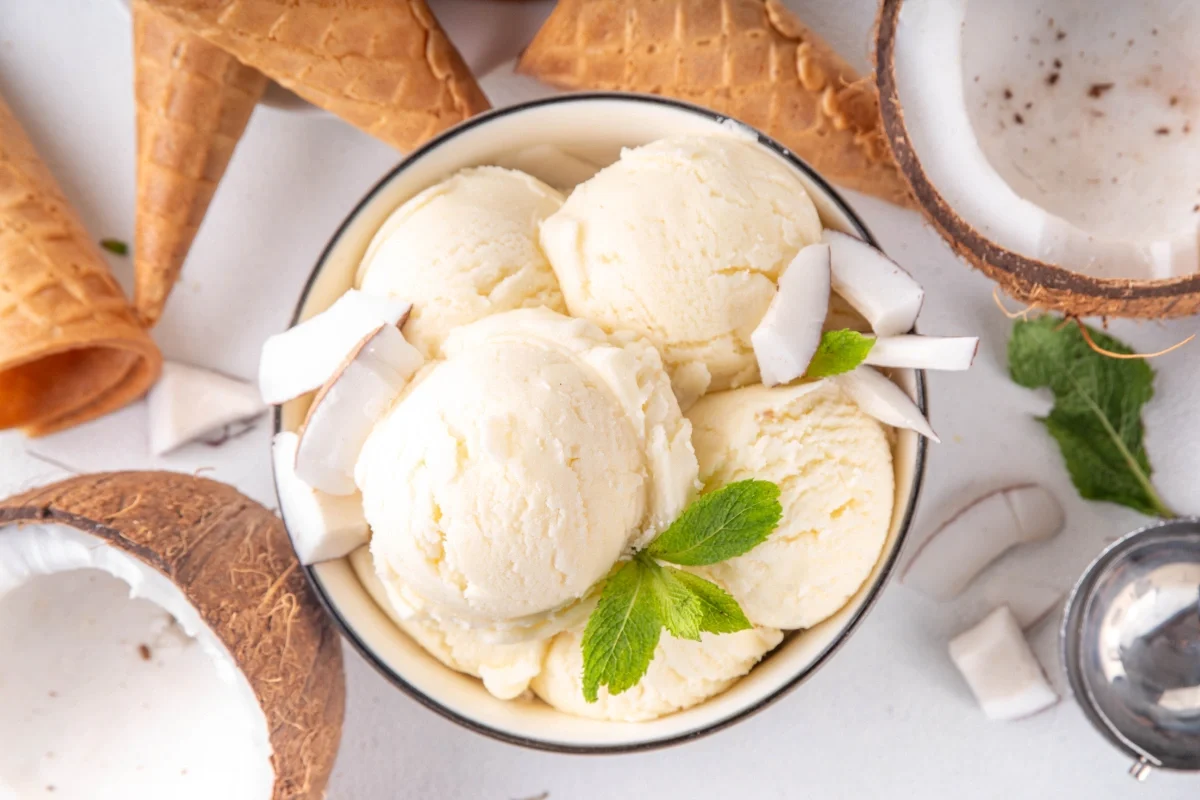
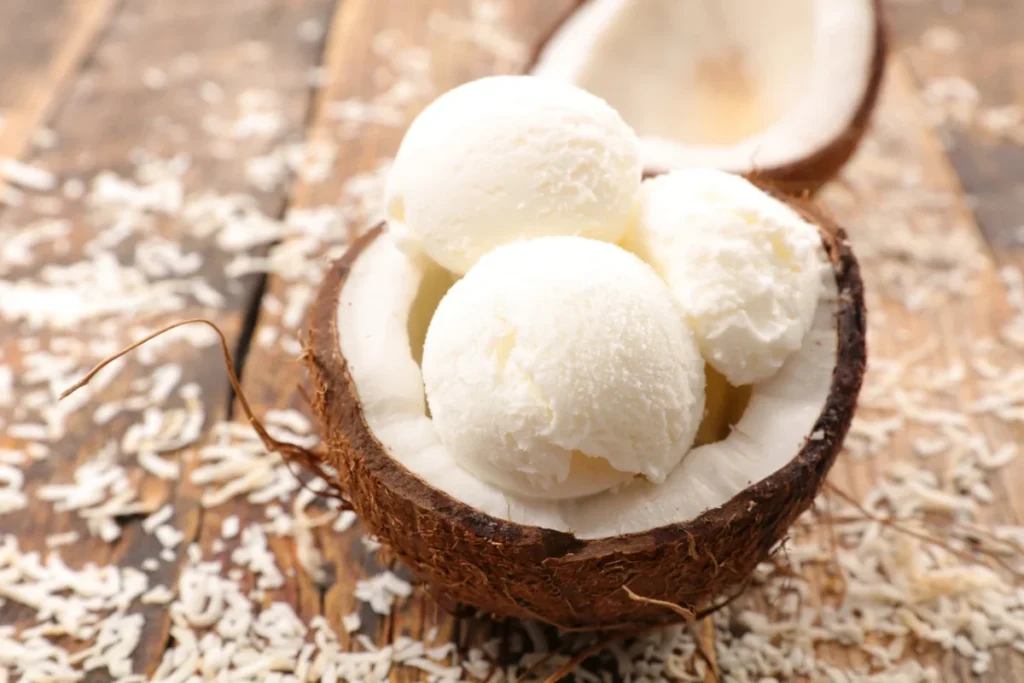
Coconut Milk Ice Cream Recipe
Alright, let’s talk about the real MVP of summer: ice cream. But not just any ice cream—Coconut Milk Ice Cream. Creamy, rich, and so decadent you’ll forget it’s dairy-free. No cow involved, no guilt (okay, maybe a little), and 100% delicious.
I used to think “dairy-free ice cream” was just a fancy way of saying “sad frozen mush.” Then I tried this recipe. Game. Changed. Now I make it weekly. My neighbors might think I’m running a secret soft-serve stand out of my kitchen. (Sorry, Linda. The blender is loud.)
So whether you’re vegan, lactose-intolerant, or just vibing with coconut energy, this one’s for you. And guess what? You don’t need an ice cream maker. Yes, really. Let’s dive in (pun fully intended this time).
Why Coconut Milk Ice Cream Is Basically Magic
Let’s get one thing straight: coconut milk is the ultimate cheat code for creamy desserts. It’s thick, luscious, and has just the right amount of natural sweetness. Unlike almond or oat milk, it doesn’t taste like “water with a hint of regret.” It’s the body you crave in ice cream—without the brain freeze from over-churning.
Plus, it’s naturally dairy-free and vegan, so it’s inclusive without sacrificing flavor. And if you’ve ever had coconut ice cream at a store that cost $9.99 for a tiny carton? This homemade version tastes better and costs less than a latte. Win-win.
So… Why Coconut Milk?
- High fat content = creamy texture (no icy chunks, please)
- Neutral-sweet flavor = perfect base for any add-in
- Naturally dairy-free = safe for allergies, vegan diets, or “I just don’t vibe with lactose” days
- Shelf-stable = you can keep a can in the back of your pantry for emergency ice cream situations (which, IMO, happen way more often than we admit)
What You’ll Need: 5 Ingredients, Zero Drama
This recipe is stupidly simple. Like, “you probably have everything except the coconut milk” simple.
The Base:
- 1 can (13.5 oz) full-fat coconut milk – not “light” coconut milk. We’re going for luxury here, not compromise.
- 1/3 cup maple syrup or honey – adjusts sweetness to taste. Honey if you’re not vegan, maple if you are.
- 1 tsp pure vanilla extract – don’t skimp. I’m talking real vanilla, not that “vanilla-flavored” stuff that tastes like pencil shavings.
- Pinch of salt – again, the secret flavor booster. It’s like glitter for taste buds.
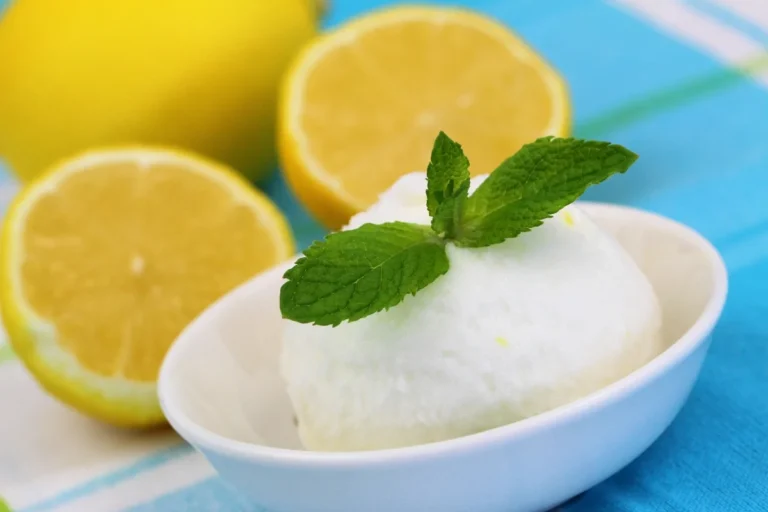
- 1 tbsp lemon juice (optional) – helps keep the texture smooth and prevents crystallization
That’s it. Five ingredients. No stabilizers, no gums, no fancy emulsifiers. Just real food doing real work.
Want to Level Up? Here Are My Favorite Add-Ins:
- Toasted coconut flakes – because more coconut is never a bad idea
- Cacao nibs or dark chocolate chips – for that rich, chocolatey crunch
- Mashed ripe banana – adds natural sweetness and creaminess
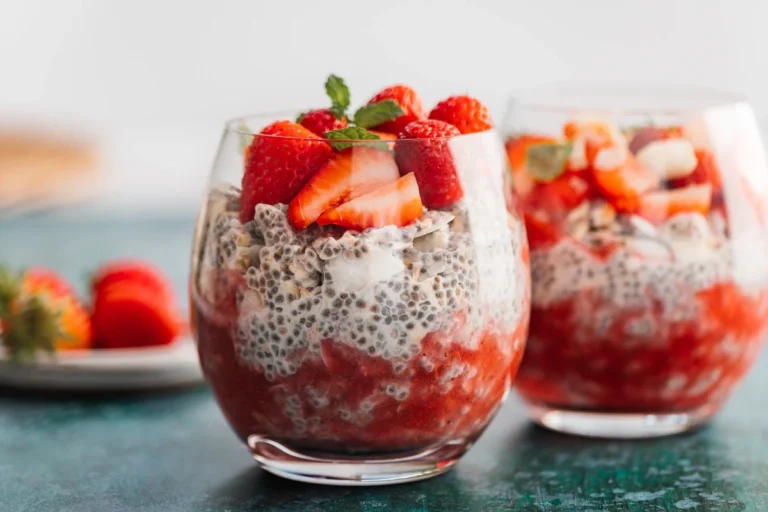
- Fresh mango or strawberries – blend them in for a fruity swirl
- A splash of rum or coconut extract – for when you want to feel like you’re on a beach (even if you’re just in your PJs)
How to Make It (No Ice Cream Maker? No Problem!)
Here’s the beauty of this recipe: you only need a blender and a freezer-safe container. That’s it. No churning, no fancy gadgets, no standing over a custard like you’re in a period drama.
Step 1: Blend It Smooth
Pour the entire can of coconut milk into your blender. Add the maple syrup (or honey), vanilla, salt, and lemon juice. Blend until smooth and frothy—about 30 seconds.
Pro tip: If your coconut milk has separated (the solid cream at the top, liquid at the bottom), don’t panic. That’s normal. Just scrape it all in. The blender will fix everything.
Step 2: Taste & Adjust
Give it a little taste. Want it sweeter? Add a touch more syrup. More vanilla? Go for it. This is your ice cream. You’re the boss. (Even if your cat disagrees.)
Step 3: Pour & Freeze
Transfer the mixture to a freezer-safe container—something with a lid, like a loaf pan or airtight Tupperware. Smooth the top with a spoon.
Now, the waiting game: Freeze for at least 4–6 hours, or preferably overnight.
Step 4: The “No-Churn” Secret: Stir It Halfway
Here’s the trick to avoid ice crystals and keep it creamy: after 2 hours in the freezer, take it out and stir it vigorously. Just grab a fork or spoon and mash it up a bit. This breaks up any forming ice and keeps the texture smooth.
Then pop it back in. That’s it. You’re basically churning it with your hands, but without the elbow grease.
Scooping Tips: Because Frozen Coconut Is No Joke
Coconut milk ice cream gets firm when frozen. Like, “you might need a jackhammer” firm. So don’t try to scoop it straight from the freezer like a hero. You’ll chip a tooth.
Here’s what to do instead:
- Let it sit at room temperature for 5–10 minutes before scooping
- Run your ice cream scoop under hot water first
- Or, store it in a slightly smaller container so it’s thicker and easier to portion
And if you want soft-serve texture? Blend the frozen ice cream in a food processor for 30 seconds. Boom—soft serve in a bowl. Mind = blown.
Flavor Variations: Because One Flavor Is Never Enough
Once you’ve nailed the base, go wild. Seriously. This recipe is a blank canvas.
1. Chocolate Coconut Dream
- Add 3 tbsp cocoa powder + 1 extra tbsp maple syrup
- Optional: fold in chocolate chips before freezing
2. Tropical Mango Swirl
- Blend 1/2 cup mashed ripe mango into the base
- Swirl in extra mango chunks before freezing
3. Vanilla Bean Coconut
- Scrape seeds from 1 vanilla bean into the mix (instead of extract)
- Looks fancy, tastes even fancier
4. Peanut Butter Swirl (Yes, Really)
- Swirl in 2 tbsp melted peanut butter (or almond butter) before freezing
- Top with crushed peanuts for crunch
5. Coffee Coconut Buzz
- Add 1 tbsp instant espresso or strong cooled coffee
- Perfect for an after-dinner treat
Common Mistakes (And How to Avoid Them)
Even simple recipes can go sideways. Here’s how to keep your ice cream from becoming a frozen brick of sadness.
- Using light coconut milk – it’s too thin. You’ll end up with icy, watery mush. Full-fat only, folks.
- Not stirring after 2 hours – skipping this step = icy texture. Don’t be lazy. Set a timer.
- Over-sweetening – coconut milk has natural sweetness. Taste as you go!
- Forgetting the salt – it balances everything. Skip it, and your ice cream will taste “flat.”
- Storing it uncovered – it’ll pick up freezer smells. Always use a lid.
Why I Keep Coming Back to This Recipe
I’ve tried a lot of homemade ice creams. Banana “nice cream,” avocado-based ones, cashew custards—you name it. But this coconut milk version? It’s the only one my whole family fights over. My carnivore brother, my vegan sister, my picky nephew… all obsessed.
It’s rich without being heavy, sweet without being cloying, and so easy that I make it when I’m tired, lazy, or just need a little joy in a bowl.
And honestly? It feels kind of rebellious. Like, “I made gourmet ice cream with five ingredients and a blender. Take that, $10 pints.”
Final Scoop: Make It Tonight
Look, life’s too short for bad ice cream. And with this recipe, you’ve got no excuse. It’s cheap, easy, and totally customizable.
So grab a can of coconut milk, dig out that blender, and treat yourself. Whether you keep it classic or go full tropical, you’re about 6 hours away from the best dairy-free ice cream you’ve ever had.
And when your friends ask, “Wait, this is vegan?” Just smile and say, “Yep. And it’s better than yours.” 😉
Now go freeze something delicious. You’ve earned it. 🍨💛

