No-Bake Berry Cheesecake Cups: The Dessert You Didn’t Know You Needed
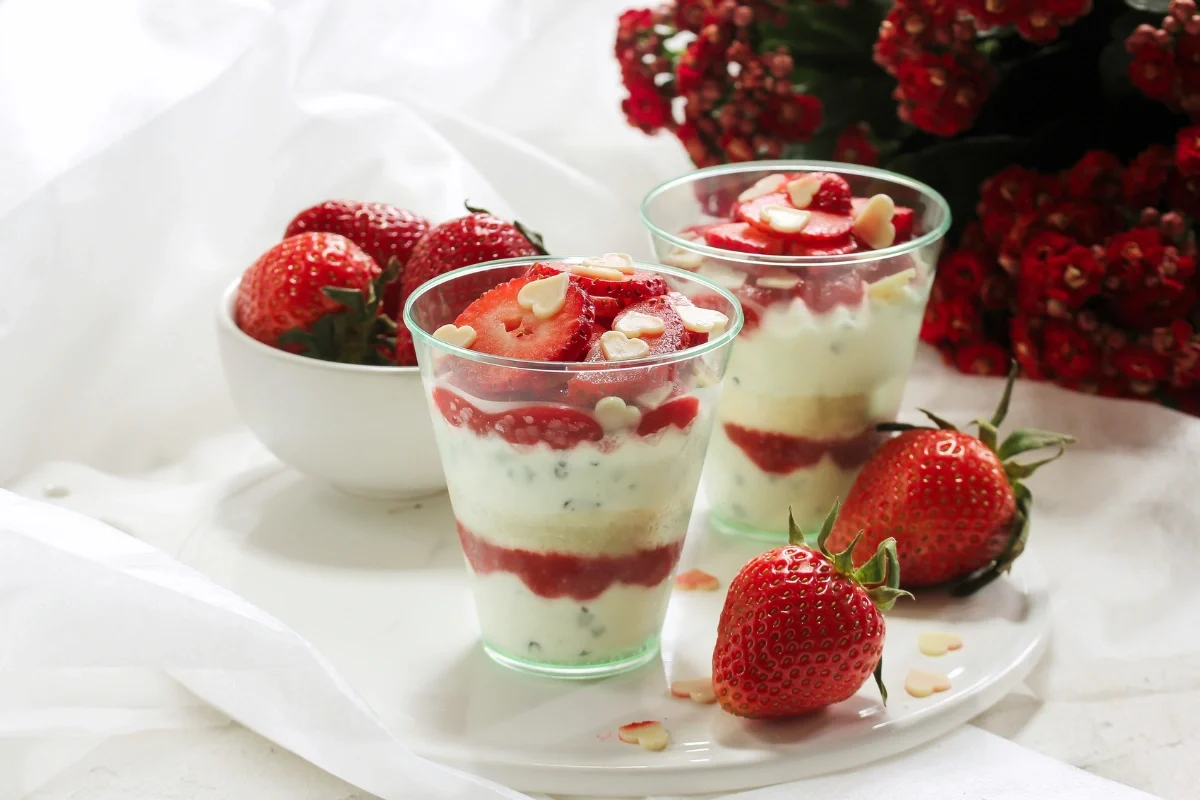
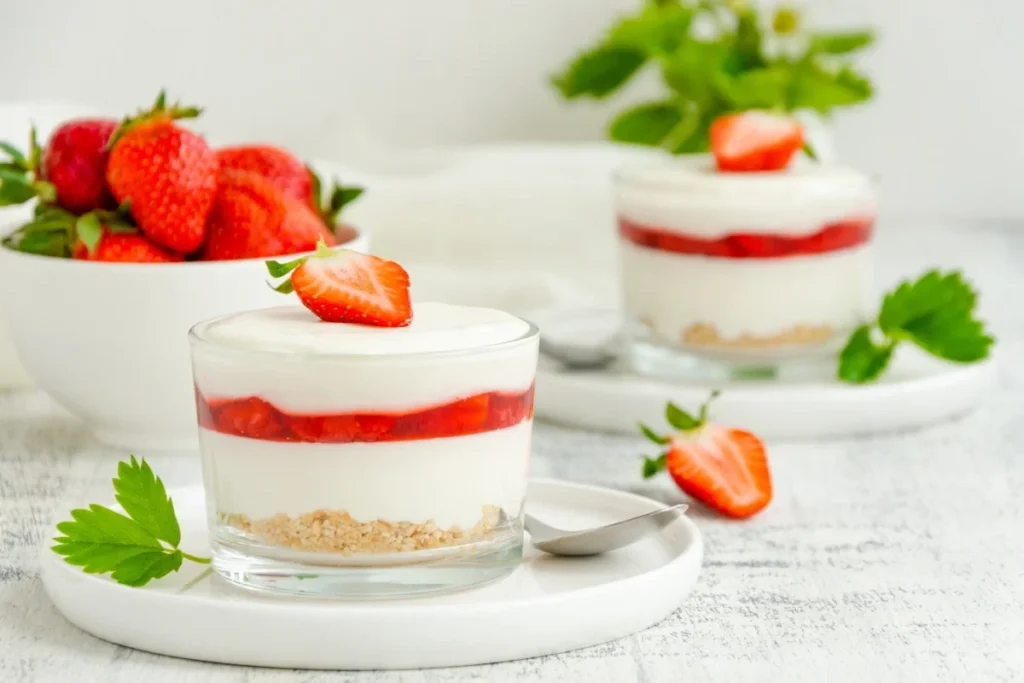
Ever had one of those days where you just want something sweet, but the thought of turning on your oven feels like a personal attack? Yeah, same. That’s why I’m head-over-heels in love with No-Bake Berry Cheesecake Cups —a dessert so easy, even your kitchen-phobic cousin could nail it. And trust me, these little cups are not just a treat for your taste buds; they’re also Instagram-worthy (you’re welcome).
FYI, this recipe is perfect for summer parties, lazy weekends, or when you just need to impress someone without actually trying too hard. Ready to dive into the world of no-bake magic? Let’s go!
Why You’ll Love These Cheesecake Cups
Let’s be real—sometimes we just don’t have the patience (or energy) to bake. But here’s the thing: these cheesecake cups are no-bake , which means no ovens, no timers, and no stress. Plus, they’re customizable! Want more berries? Go for it. Prefer a thicker crust? You do you.
Here’s why these cups stand out:
- Quick & Easy: You can whip them up in under 30 minutes (minus chilling time).
- Customizable: Add your fave fruits, toppings, or even a drizzle of chocolate if you’re feeling fancy.
- Crowd-Pleaser: Whether you’re serving kids or adults, everyone loves a good cheesecake.
And let’s not forget—they’re cute AF. Seriously, who doesn’t love individual desserts? It’s like a hug for your mouth. 🙂
Ingredients: Keep It Simple, Sweetie
Before we get into the nitty-gritty, let’s talk ingredients. Here’s what you’ll need to make these beauties:
For the Crust:
- 1 cup graham cracker crumbs (or crushed cookies if you’re feeling adventurous)
- 2 tablespoons granulated sugar
- 3 tablespoons melted butter
For the Filling:
- 8 oz cream cheese (softened—don’t skip this step unless you like lumpy cheesecake)
- 1/4 cup powdered sugar (adjust to taste—I like mine slightly less sweet)
- 1 teaspoon vanilla extract
- 1/2 cup whipped cream (homemade or store-bought, no judgment)
For the Topping:
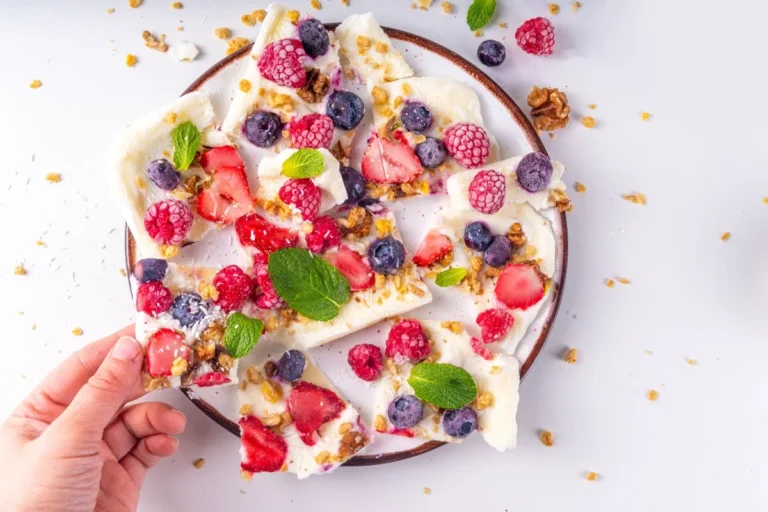
- 1 cup mixed fresh berries (strawberries, blueberries, raspberries—you name it)
- 1 tablespoon honey or berry jam (optional, for extra sweetness)
- Fresh mint leaves (for garnish, because presentation matters)
IMO, the beauty of this recipe lies in its simplicity. You probably already have most of these ingredients in your pantry. If not, a quick trip to the store is all it takes.
Step-by-Step Guide: Let’s Get Cheesecake-ing
Alright, let’s break it down. Don’t worry—I’ll walk you through every step like we’re baking buddies.
Step 1: Make That Crust Pop
First things first, grab a bowl and mix together your graham cracker crumbs, sugar, and melted butter. The goal? A sandy, wet-sand texture that holds together when you press it. Divide this mixture evenly among 6–8 small cups or glasses (mason jars work great too). Press the crumbs down firmly to form the base of your cups.
Pro tip: Use the back of a spoon or your fingers to really pack it in. You don’t want a crumbly mess when you dig in later.
Step 2: Whip Up the Cheesecake Filling
In another bowl, beat the softened cream cheese, powdered sugar, and vanilla extract until smooth. FYI, room-temperature cream cheese is key here—cold cream cheese = lumpy filling. Once it’s silky smooth, gently fold in the whipped cream. This step adds that light, airy texture we all crave in a cheesecake.
Taste test alert! Give it a quick sample to see if it needs more sugar or vanilla. Adjust accordingly.
Step 3: Assemble Like a Pro
Spoon the cheesecake filling over the chilled crusts, dividing it evenly among the cups. Smooth the tops with the back of a spoon or a spatula. At this point, you’ve got two options: chill it now or add your toppings right away. Personally, I like to wait until just before serving to keep the berries fresh and vibrant.
Step 4: Chill, Baby, Chill
Pop those babies into the fridge for at least 30 minutes. This gives the filling time to set and makes them easier to eat. Patience is key here, my friend.
Serving Suggestions: Make It Fancy
Okay, so your cheesecake cups are ready. Now what? Here’s how to take them from “yum” to “OMG, yum!”
- Berry Bonanza: Top each cup with a handful of fresh berries. Drizzle honey or melted berry jam for extra sweetness.
- Mint Magic: Add a sprig of fresh mint for a pop of color and freshness.
- Chocolate Lovers: Shave some dark chocolate on top or drizzle melted chocolate for an indulgent twist.
These cups pair beautifully with a glass of bubbly lemonade, sparkling wine, or even coffee if you’re serving them as a brunch treat.
Tips for Success: Because Life’s Too Short for Bad Desserts
Let’s face it—nobody wants a soggy crust or overly sweet filling. Here are some tips to ensure your cheesecake cups turn out perfect every time:
- Crust Variations: Swap graham crackers for Oreos, shortbread, or gluten-free cookies for a fun twist.
- Berry Mix: Use seasonal berries or make a quick compote by simmering berries with sugar and water until thickened.
- Make Ahead: Prep the crust and filling up to a day in advance, but add the fresh berry topping just before serving.
- Dairy-Free Option: Use vegan cream cheese and coconut whipped cream for a plant-based version.
FAQs: Answering Your Burning Questions
Got questions? I’ve got answers. Here’s what you might be wondering:
- Can I use frozen berries?
Sure, but thaw and drain them first to avoid excess liquid messing up your topping. - How long do these last in the fridge?
They’ll stay fresh for up to 2 days. After that, the crust might start getting soggy. - Can I freeze them?
Technically, yes, but the texture might change. Best enjoyed fresh, IMO. - What if I don’t have whipped cream?
You can sub it with Cool Whip or even marshmallow fluff in a pinch.
Final Thoughts: Dessert Without the Drama
There you have it—No-Bake Berry Cheesecake Cups that are as easy to make as they are delicious. Whether you’re hosting a party or just treating yourself, these little cups are sure to steal the show.
So, what are you waiting for? Grab your ingredients, crank up your favorite playlist, and get to work. And hey, if you mess up, just laugh it off. Dessert is supposed to be fun, not stressful. 😀
Got any dessert hacks of your own? Drop them in the comments below—I’d love to hear ’em! Until next time, happy baking (or no-baking, in this case). 🍓✨

